Printmaking

Katsushika Hokusai, Under the Wave off Kanagawa also known as the Great Wave, from the series Thirty-Six Views of Mount Fuji, Japanese, Edo period, about 1830–31. Woodblock print; ink and color on paper. William Sturgis Bigelow Collection.
Katsushika Hokusai, Under the Wave off Kanagawa also known as the Great Wave, from the series Thirty-Six Views of Mount Fuji, Japanese, Edo period, about 1830–31. Woodblock print; ink and color on paper. William Sturgis Bigelow Collection.
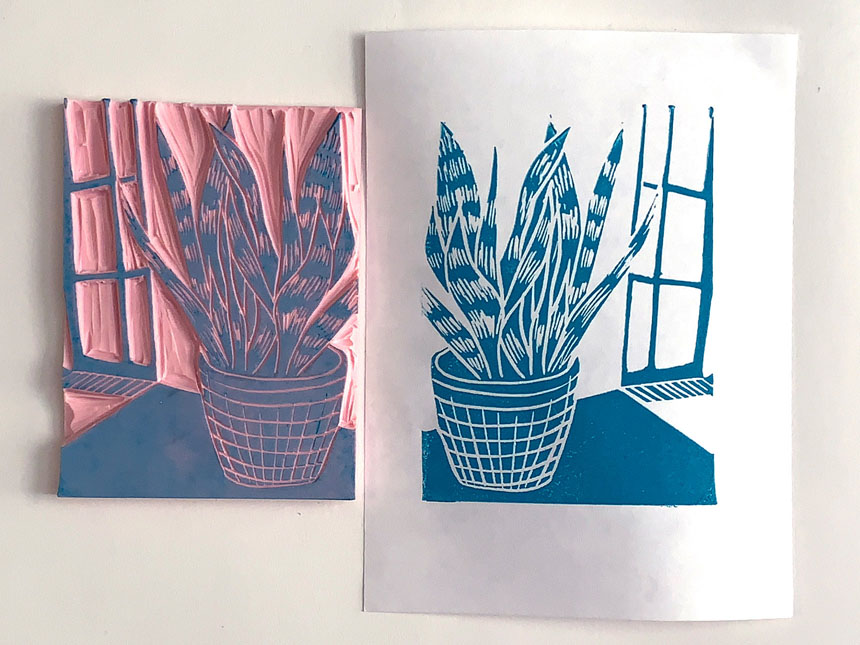
A print is an image created by transferring ink from one surface to another. It’s a process that can be repeated to create an “edition” of prints, or multiple prints that look alike. There are many different processes and techniques that can be used to create a print, including etching into metal, drawing onto limestone, or carving into a surface. To create a relief print, an artist carves the image into a substrate such as a wood or linoleum block and then inks the surface to print. In this process, the information that is being carved away is the white or negative space of the image. To print the block, ink is spread across the surface, touching only the high, uncarved portions of the block. Then pressure is applied to transfer the ink to paper. The process is then repeated to create multiple prints from the block. In Japanese prints, ink is spread onto the woodblock using a flat brush. In the instructions below we’ve used a brayer to roll ink onto the linoleum.
Today, it’s common for a single artist to complete all the printmaking steps themselves. But in 19th-century Japan, when Katsushika Hokusai created The Great Wave, prints were considered commercial products more than works of art; they were mass produced with different people completing different steps for efficiency. One artist drew the design, a block cutter carved the wood into printing blocks (one block for each color), a printer inked the blocks and took the impressions, and a publisher coordinated everything along with selling the prints in his bookstore. Cherrywood was often used for creating woodblock prints because it could be used for hundreds or even thousands of impressions before it wore out! What images will you create in your print?
Photos and instructions courtesy of Stacy Friedman.
Materials
You will need:
- 4 x 6 inch Soft-Kut linoleum
- linoleum cutter and blades
- no. 2 pencil
- rice paper or drawing paper
- water-soluble block printing ink
- brayer
- palette paper, wax paper, or a piece of plexiglass
- plastic palette knife, plastic spoon, or popsicle stick
- baren or a wooden or metal spoon (optional)
About the Materials
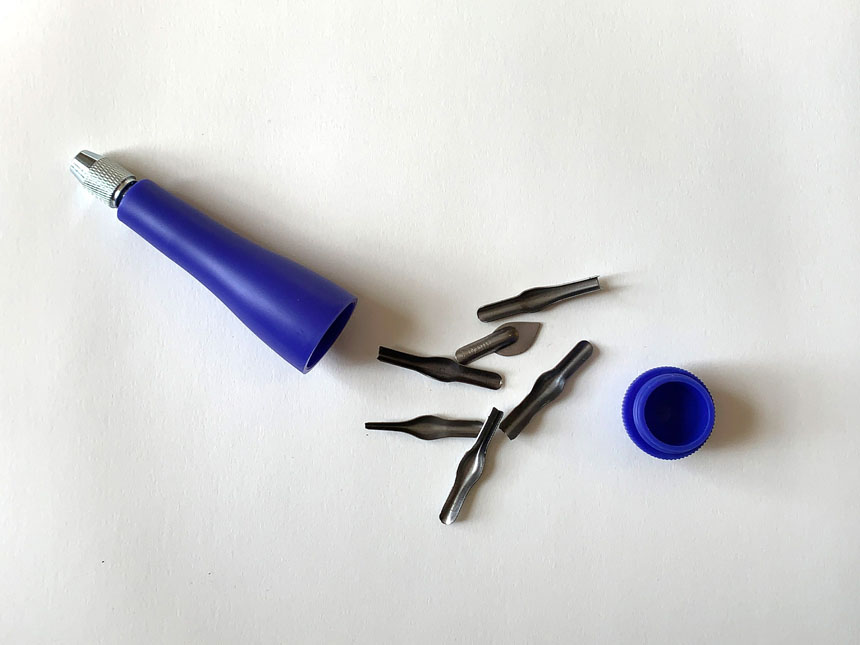
Linoleum cutters typically come with different blades stored in the handle of the tool. Simply twist and remove the rounded bottom and carefully empty the blades onto a table. These blades are sharp—be careful when handling them!
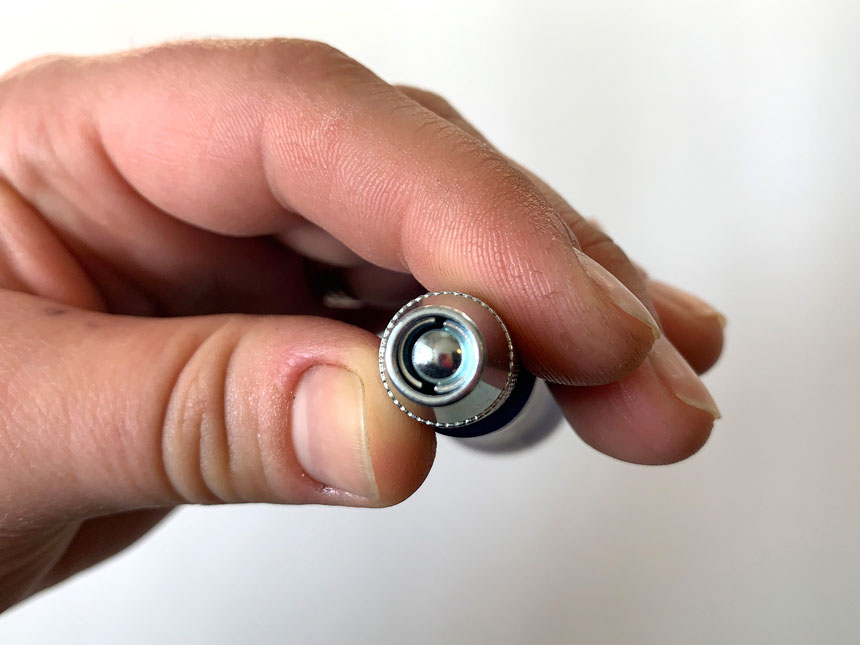
To attach your selected blade to the handle of the linoleum cutter, start by loosening the metal piece at the top of the handle while keeping it engaged. Be careful not to loosen it completely, otherwise all of the metal pieces will disconnect and come apart.
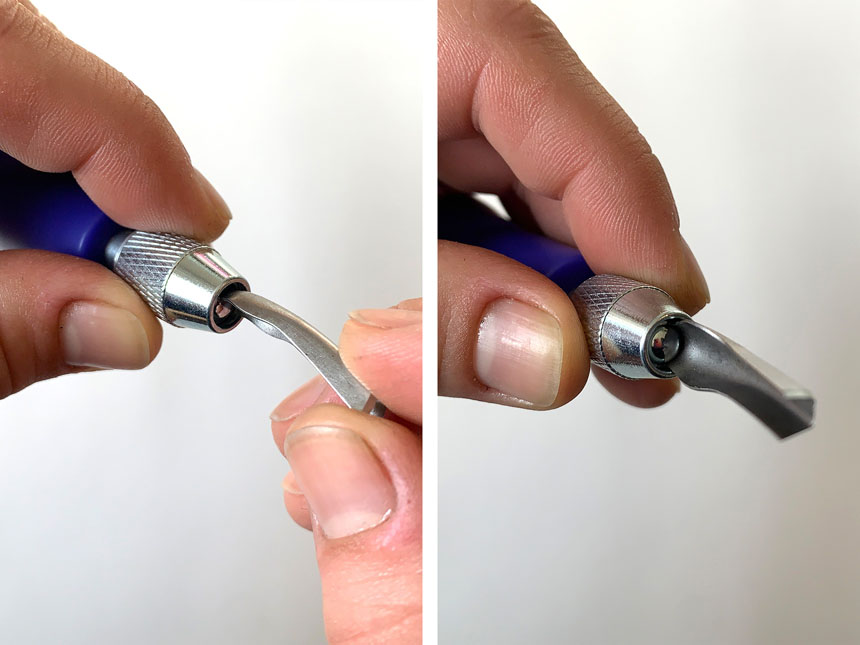
Look down at the metal tip: you will notice there are two half-circle pieces of metal, one thinner than the other. The rounded end of your blade is meant to slide in between the center circle and the thinner half circle. Once the blade is in position, twist and tighten the outer metal piece to lock everything in place.

Relief prints can be made using a variety of materials, such as wood, medium-density fiberboard (MDF), and linoleum. There are many options for easy-to-cut linoleum blocks at an art supply store. They come in various sizes and colors. Any of them will work for this project.
Instructions
Step 1

Step 2

Step 3

Step 4

Step 5

Step 6

Step 7

Step 8

Clean-Up

When you are finished printing, remember to clean the ink off of your tools or the ink will dry, making your tools unusable in the future. Water-soluble inks can be easily cleaned from your brayer, palette, knife, and block with dish soap, water, and a rag or paper towel.
About the Artist
Stacy Friedman is an artist and collaborative printer based in the Boston area. She holds a BFA in Printmaking and Art History from Massachusetts College of Art and Design. In 2020 Stacy was awarded a Mass Cultural Council Fellowship in Drawing and Printmaking. Stacy has worked with many artists as a collaborative printer at Mixit Print Studio and Muskat Studios in Somerville, Massachusetts. She is an owner and manager of New Impressions Print Studio, a community printmaking studio in Somerville. Stacy shows her work nationally and has taught numerous printmaking classes and workshops at the Museum of Fine Arts, Boston; Maud Morgan Arts (Cambridge, MA); MassArt; the Weston Art and Innovation Center (Weston, MA); Mixit Print Studio (Somerville, MA); and Artist Proof Studio (Johannesburg, South Africa).